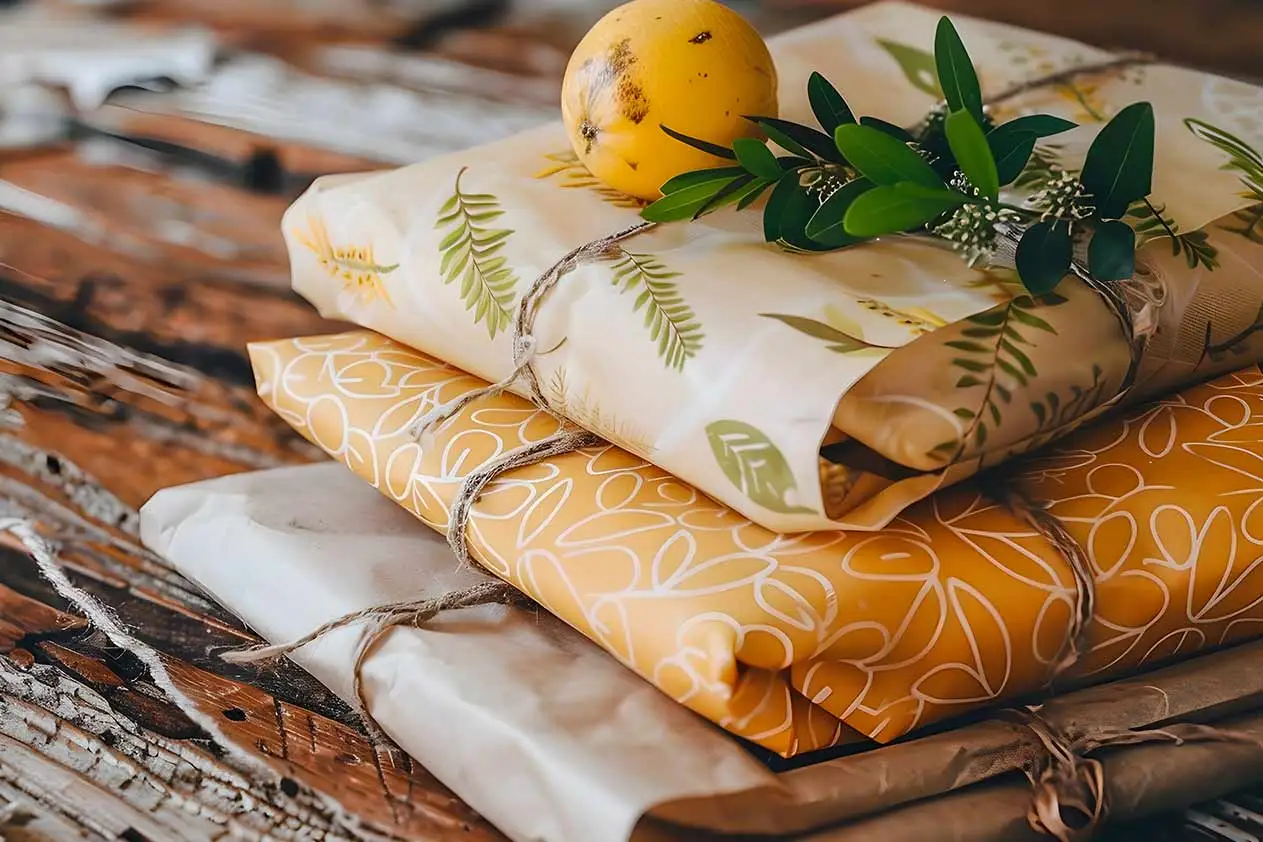
Are you tired of using plastic wraps and looking for some other sustainable option? Think about a kitchen filled with beautiful, reusable beeswax wraps to freshen your food and keep your conscience light.
The alternatives to making these beeswax wraps are contributing to a cleaner planet and adding a pinch of charm to your kitchen. In this guide, we’ll take you through the steps on how to make your beeswax wraps. Let’s get started on this creative and rewarding DIY project!
Why make your beeswax wraps?
Traditional plastic wraps contribute remarkably to plastic pollution. By shifting to beeswax wraps, you take real practical steps to reduce the plastic footprint of an individual.
Beeswax wraps are developed using natural materials like cotton fabric and beeswax; thus, they are biodegradable and compostable in the end.
These wraps are reusable, meaning that eventually, you will save some money on reducing your waste footprint. Aside from that, beeswax wrapping is friendly to the environment and safe for your health.
Instead of plastic wraps, which may leach into your food to be consumed, beeswax wraps use all-natural ingredients and thereby hold no risks.
Wrapping with beeswax inherently has antibacterial properties, which allow one to keep their food fresh. Making your beeswax wraps is a win-win for both you and the planet.
With DIY beeswax wraps, you can make them with your personal choice taste. You are welcome to choose a fabric pattern that goes well with either your style or that of the kitchen and various sizes for all kinds of food items. Besides, it is a fun and engaging exercise that one can do alone or even with friends and family.
Materials you’ll need
Have all your materials ready before you start to make your beeswax wraps. Better quality ingredients make better wraps.
Essential materials
- Beeswax pellets: The base ingredients that form a natural, eco-friendly coating.
- 100% Cotton Fabric: Look for tightly woven cotton fabric.
- Parchment Paper: To protect your baking sheet and workspace from melted beeswax. Even surface to melt the beeswax onto the fabric.
- Brush or paintbrush to spread the melted beeswax evenly across the fabric.
- Scissors to cut the fabric into desired sizes.
- Optional: Jojoba oil and pine resin for added flexibility and tack—though you can make beeswax wraps without the resin.
These materials will smoothen the process and make it enjoyable. Now let’s start preparing our fabric.

Preparing your fabric
Thoroughly preparing your fabric is significant in making a successful beeswax wrap. This involves cutting the fabric to the proper size and pre-washing it to remove residues.
Cutting and pre-washing
Start with 100% cotton fabric. It will absorb the beeswax properly and is safe for food contact. Measure and cut the fabric into sizes that you need.
The small wraps are typically 8×8 inches, the medium wraps are generally 12×12 inches, and the large wraps are about 14×14 inches. Cut the fabric into squares or rectangles as required using scissors.
Pre-treat the fabric by washing it in warm water with a mild detergent to wash away the dirt, dust, and sizing agents. Wash the fabric properly and well in warm water with mild detergent, rinse thoroughly.
The fabric should be allowed to air-dry completely before proceeding to the next step. Thoroughly cleaned and dried fabric means that the beeswax will adhere much better. Now that your fabric is clean and cut to size, it’s ready for you to start melting the beeswax.

Melting the beeswax
Melting of the beeswax is one of the important steps in making beeswax wraps. You can either use an oven or a double boiler method to melt beeswax pellets.
Using an oven
If you use an oven, preheat it to 225°F (107°C). Put a sheet of parchment paper on a baking sheet to protect it from the melted beeswax.
Lay the cotton fabric onto the parchment paper, and over the fabric, sprinkle equal measurements of beeswax pellets. The pellets should be spread evenly so that beeswax won’t clump.
Place the baking sheet in the preheated oven and wait for the beeswax pellets to melt. This should take between 5 and 10 minutes.
After melting, take out the baking sheet from the oven. Using a brush or paintbrush, spread the melted beeswax over the fabric. Make sure to cover the whole surface for a smooth, uniform coat.
Using a double boiler
If you like, use a double boiler and fill a pot with water, bringing it to simmer. Put a heatproof bowl on top of the pot so that it doesn’t touch the water. Add the beeswax pellets and stir every once in a while until melted entirely.
Lay the cotton fabric on a piece of parchment paper. Use the brush or paintbrush to apply the melted beeswax to the fabric.
Quickly spread the beeswax evenly before it starts cooling and solidifying. This gives one much more control over the application, but it requires constant attention. Now that the beeswax has been melted and is ready to go, apply it to your fabric.
Applying the beeswax to the fabric
That is, you are guaranteed the coating when you apply the melted beeswax to the fabric. Apply evenly for great results. For that to happen, place the fabric on a clean and flat surface.
Spreading and coating
Your working surface should be protected with parchment paper. If you used the oven method, your fabric should already be on the parchment paper. Use the brush or paintbrush to spread and coat the fabric with melted beeswax.
Be careful to distribute the beeswax evenly over the surface. In case you notice places not being in order, add several beeswax pallets to the material and melt them in the oven or double boiler again.
For the second method, just brush on another part of the liquid melted beeswax, depending on the quantity. What is more, be careful not to give a thick coat of beeswax on the fabric. Once the fabric has beeswax applied to it, you’re ready to set and cure your wraps.
Setting and curing the wraps
Proper setting and curing of your beeswax wraps ensure that they are ready for use and last longer.
Cooling and drying
After applying the beeswax, let the fabric cool to set. In certain scenarios, you could speed the cooling by taking the wraps and cooling them in a fridge for a couple of minutes.
When cooled, the beeswax will harden, resulting in a flexible yet firm wrap. Make sure the wraps are completely dry before using them. Any remaining moisture in them is a potential source of weakness and reduces their durability.
Keep the cured wraps under moderate conditions in terms of temperature and humidity until you are ready to use them. This way, their quality is maintained for longer periods.
Your beeswax wraps are now ready, so how do you go about using them and taking care of them effectively?
Using and caring for your beeswax wraps
Beeswax wraps are pliable and simple to work with. They can last for a couple of months to one year, given proper care.
Cleaning and maintenance
To clean your beeswax wraps, rinse in cool water with mild soap. Avoid the use of hot water, as this might melt the beeswax coating. Gently scrub away any food residue and then hang the wraps up to air dry. Do not wring or twist the wrap.
Store in a cool, dry place when not in use. Do not leave exposed to direct sunlight or near heat that might melt the beeswax. With proper care, your beeswax wraps will continue working great and looking beautiful for months.
If you encounter any issues during DIY, do not worry. Here’s how to troubleshoot.

Troubleshooting common issues
Even with the best preparation, you may run into some hitches in the process of making beeswax wraps. Below are ways to solve common problems.
Tackiness and even coating
If your wraps are too sticky, it’s possible that you just added a bit too much wax. To fix this, sandwich the wrap between two sheets of parchment paper, and using a warm iron, melt and smooth the beeswax again until it spreads more evenly.
If the covering is not uniform, re-melt the beeswax using the oven method and apply with a brush until uniformly covered. The functionalities and appearance of the wrap will improve if the beeswax is even during application to ensure that materials are evenly distributed.
Follow these troubleshooting tips to get beeswax wraps perfect every time.
Conclusion
Making your beeswax wraps is a fun, sustainable project that helps you reduce waste from plastics and keep your kitchen full of charm. Follow this guide to create beautiful, zero-waste wraps that do all the good work of keeping your food fresh in style.
Have fun experimenting with different fabric patterns and sizes to suit your needs and personal style. There is no equal feeling to that of using something you make with your hands. You can get the main material in our beeswax online store.
Then, it will be a good engagement in sustainable living, and other people will also do the same. Now, are you ready to make your DIY beeswax wraps? Get your things together and follow this guideline to make your very own eco wrap. Have fun crafting!


